Saturday, March 31, 2012

The Set

 Initially I have bought sheets of 1" corrugated cardboard that were about 3' x 4'. I have laid them out on the floor and to make the river, i cut a diagonal and separated the boards. Then, mapped out the locations of the bridge and the road. To make elevations, I glued cardboard all over the base. With all of these hills and 6 sections it adds to a total of 8' x 9' without the river.
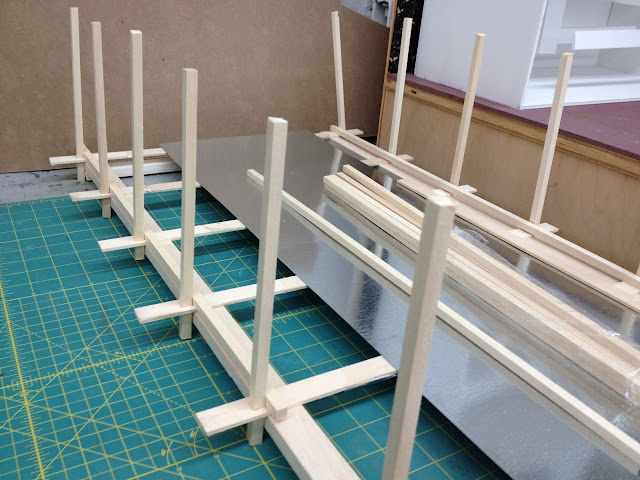
All of this had to be taken back to my room where I will be filming. Unfortunately I HAVE NO ROOM LEFT TO LIVE.. it takes up every last space I was able to possibly give it! AGH thats with no lights and no blue screens.
For the immediate future, I will be covering the base and arranging the set...

Hands

They start of as pipe cleaners
Then they are glued to a piece of leather
The leather is cut
The pipe cleaners are wrapped in the leather and glued

First Assembly

AH HA I have many parts finished, so I put it all together and took a few test shots..


Sunday, March 25, 2012

Children are (almost) done!

Just the hair and the feet.....
[2:52 am] scratch that hair is done!!! Now just the feet...

Bridge is done

Agagagagaaahh I finished the bridge! It is very valuable to me now, I was a bit over the top with the amount of work and $$ I put into it, but it is all worth it.
I used peg joinery for the large structural parts, carved square holes for the fence, added angular supports along the posts, and hid a steel plate under the floor boards for the magnetic feet.
The paint job included spray painting a base turquoise, and topping it off with a wash stain of black and metallic bronze.

Monday, March 19, 2012

Mice eyes

I had this puff paint for the longest time and I can't remember why I would ever need this stuff.. But it proved most useful to make mice eyes! Now they are pretty close to completion.. I can't decide whether they need magnets or feet details, although my teacher has advised me to stay within my own means and limitations, budget and time being the main problems.

Sunday, March 18, 2012

Work for the week of (3/19/12)

CHILDREN
  • There are 23 children heads I have made, which I believe will make a good visual crowd.
  • There are 23 armatures to make..
  • There are 23 [13] outfits to make.
    • The color scheme for the children have been defined. 
    • The tones are mauves, dark corals, and charcoal browns.
    • Colorful pops of color will be incorporated as patches. There were a lot of different colors in the scheme, so to add those odd colors, I wanted to utilize the children to fill that in.

  • Decorate the faces:
    • I have purchased the leather to cover the faces. I plan on staining it to create more depth, and inserting beads for eyes.
    • There is also the hair to consider. 'Guh'....
  • I got my 50 magnets in the mail! They will be attached to the feet.
  • Foam might be perfect to stuff the bodies with. Its fast and easy and morphs well with string and wire. (ribcages, arms)
  • Muslin needs to be bought to make limbs and an overall covering for skeletons... I may have?
WAGON
  • The cages are very important. As well as a stool for the man to sit on.. A friend offered red felt for him to sit on. I want to laser cut the outer frames and fill the inside with the mesh.. I dont have enough to make individual cages. So this allows me to fake multiple cages... 'YESSS'
  • After that I need to make the connection for the horse. It consists of a bar, a chain connecting it to the wagon and the bars that reach to the horse. Not hard, I can laser some parts, Dowels have to be bought.
HORSE
  • Cover the body with foam to build volume to the flat panels.
  • I have bought hairy fabric for the horse, It will look great! I can cover the face and the body, I think shredding the fabric and covering the horse in planes will work the best, It will create better curves and a stylized accent. 
  • Ears, Magnets, Hair from my own head for the mane and tail, Eyes.. Finishing details, and I am done!
  • The harness for the cart is also important. Cover with leather to look like existing harnesses.
TREES
  • Make a lot of trees. 
  • Mix water and glue to create a stiffening method.
  • Hang upside down to get the roots and branches to make desired shape.
  • Wire for structure.
  • Different scales. Large up close, small for distance perspective effects.
  • This will be replaced by 2D animation that will be edited into the 3D footage with a bluescreen. This also replaces building the town at all.
BRIDGE
  • Damn CAN NOT FORGET ABOUT THIS.
  • This is the most important element, and I have found trouble finding a magnetic surface to hide in the panels.. I must look harder, and possibly order online.
  • Buy wood, yada yada yada..
  • Make the bridge.
For this week the MAIN CHARACTERS have to be made. THE BRIDGE has to be finished. The CLOTHES have to be finished. TEST ANIMATION should be made soon. THE SET has to be assembled.

Making The Wagon's Mice Cages